Snap points
The snap points in SCIA are a powerful and easy tool to help you in the modelling phase. This FAQ shows some of the most particular options.
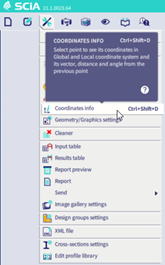
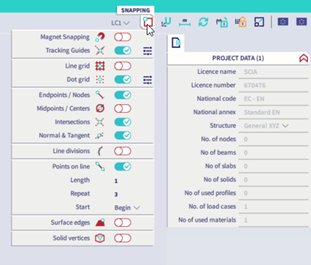
The snapping settings can be found in the status bar on the top right of the screen.
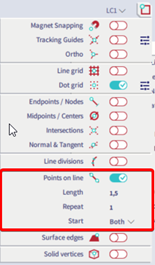
Points on line
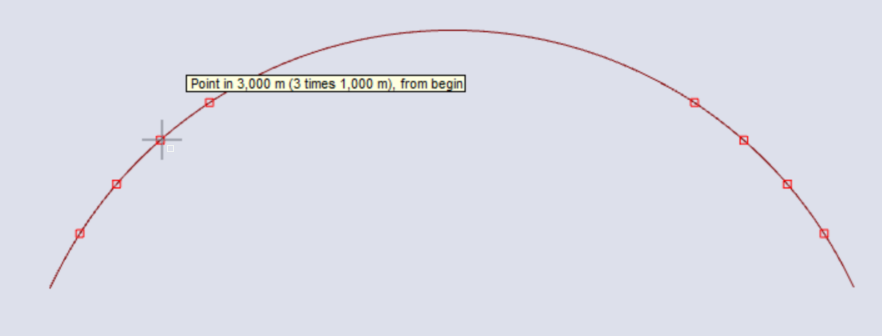
This option can allow you to add snap points to a defined distance and eventually to repeat it several times.
When you can use it: model an element or a property at a certain distance of an existing element, on its axis.
Example: In the element below, we added snap points every meter, for 4 meters, both at the beginning and at the end of the element.
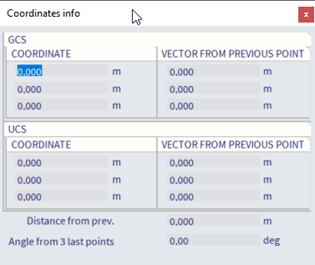
Note: a hover box will tell you the information about the snap point selected
Line divisions
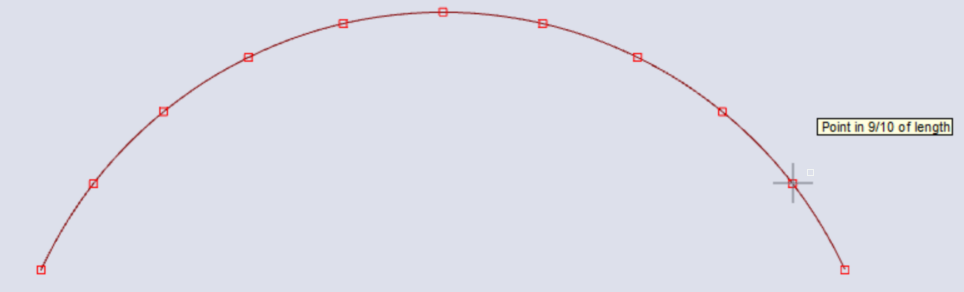
This option can allow you to add a number of snap points which are evenly distributed along the elements.
When you can use it: model an element which needs to be repeated and distributed along an element, as for example
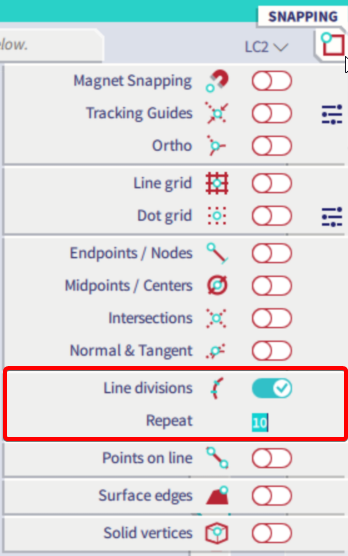
In the example below, the value of repeat was set on 10 so the element is divided in 10 segments, in total 11 snapping points are created.
Surface edges
This option can allow you to add snap points along the surface of the rendered view.
When you can use it: model an element with a certain offset, model a 2D element based on the shape of the 1D element, measure distances and thicknesses.
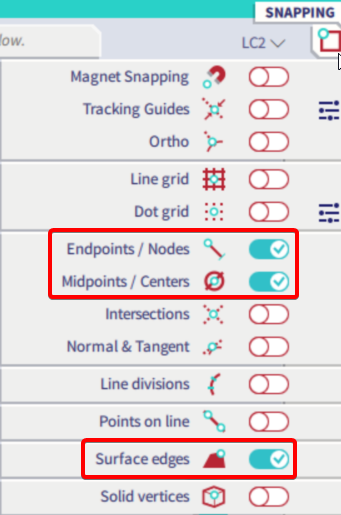
Example: In the element below, the snap point selected (midpoints and endpoints in this case) will be available either along the 1D or 2D elements or along the surface of the section of the elements.
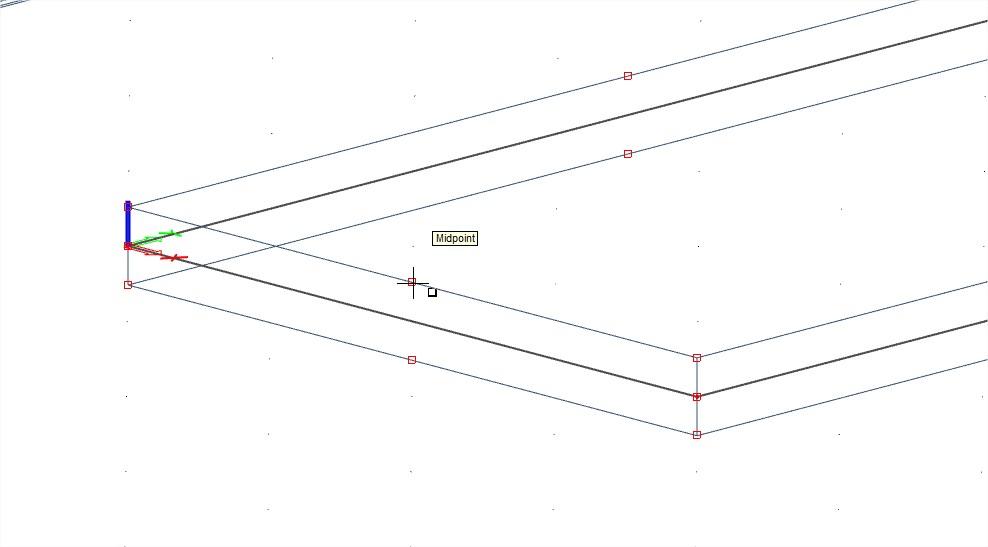
Tip: you could measure the thickness of a slab with variable thickness in a selected point.