SCIA Engineer version 24 brings 4 template configurations to boost your confidence and productivity.
The new user interface introduced in version 21 is fully customizable. And our example templates can make it even easier for you to find a configuration that fits your needs.
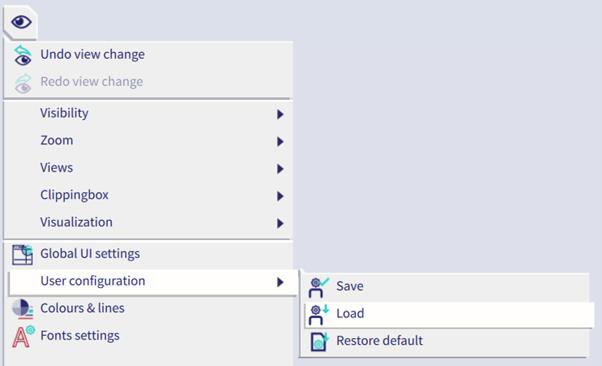
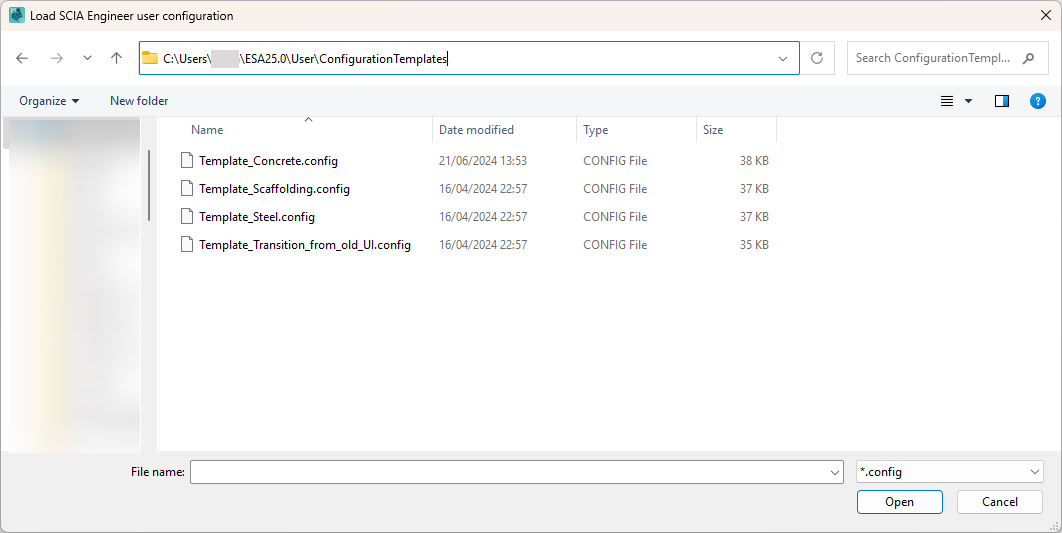
From version 24 patch 1, you can simply load one from the folder (by default this is C:\Users\*username\ESA24.0\User\ConfigurationTemplates) via the main menu:
There are four templates available, tailored to specific a specific workflow:
In each template, the following aspects are considered:
- UI Component placement, settings and filters
- Population of the toolbars
- Population of the marking menu
- Hotkeys
The template(s) should allow you to easily navigate the UI for the designated workflow. Of course, you can choose to use it as it was provided, or customize it further to your preference.
Hotkeys
The hotkeys have been unified across all 4 templates, for easy switching. The list of hotkeys is provided here. Note that single letter hotkeys and even numbers are possible, as used here for results and view toggles.
| Fixed hotkeys | Snapping/tracking | ||
| Quit | Alt+F4 | Toggle ortho mode | F8 |
| Repeat last command | Enter | Toggle tracking guides | F7 |
| Delete | Del | View | |
| Set focus to SCIA Spotlight | Space | Hide selected | Ctrl+D |
| Terminate command | Esc | Hide unselected | Ctrl+E |
| File | Toggle visibility | Ctrl+Q | |
| New | Ctrl+N | Make layers visible | Ctrl+W |
| Open | Ctrl+O | Zoom to selection | Shift+Z |
| Save | Ctrl+S | Coordinates info | Ctrl+Shift+D |
| Save as | Ctrl+Shift+S | Isometric/Perspective toggle | Ctrl+Shift+F12 |
| Close | Ctrl+F4 | View perpendicular to current UCS | F12 |
| Project settings | Shift+P | Toggle volumes | 1 |
| Libraries | Toggle shading | 2 | |
| Materials | Ctrl+M | Toggle supports | 3 |
| Cross-sections | Ctrl+J | Toggle loads | 4 |
| Load cases | Ctrl+L | Toggle model data | 5 |
| Load groups | Shift+G | Toggle node labels | 6 |
| Mass groups | Shift+M | Toggle member labels | 7 |
| Combinations | Ctrl+K | Toggle dot grid | 8 |
| Nonlinear combinations | Ctrl+Alt+N | Calculation | |
| Nonlinear stability combinations | Ctrl+Shift+N | Check structure data | Alt+C |
| Combinations of mass groups | Shift+K | Solver settings | Alt+S |
| Result classes | Shift+R | Mesh settings | Alt+M |
| Global imperfections | Ctrl+Alt+G | Generate mesh | Ctrl+Shift+M |
| Layers | Ctrl+Alt+L | Calculate | Ctrl+Shift+F5 |
| Nonlinear functions | Shift+F | Recalculate | Ctrl+F5 |
| Initial deformations | Shift+I | Refresh results | F5 |
| Linegrid manager | Ctrl+Shift+G | UCS | |
| Modify | Move UCS | F9 | |
| Undo | Ctrl+Z | New UCS from local member | F10 |
| Redo | Ctrl+Y | Switch workplane | F11 |
| Copy | Ctrl+C | Reset to GCS position | Ctrl+F11 |
| Move | Ctrl+X | Import | |
| Rotate | Ctrl+R | User blocks | Shift+U |
| Print image | Ctrl+P | Import DWG, DXF, VRML97 | Alt+D |
| Copy/Paste properties | Ctrl+Shift+F | Results | |
| Select all | Ctrl+A | Critical load coeficients | A |
| Modelling | Calculation protocol | P | |
| Rectangular grid | Ctrl+G | Bill of material | B |
| 3D line grid | Alt+G | Internal forces | I |
| 1D member | Ctrl+B | Reactions | R |
| Beam | Shift+B | 3D deformations | D |
| Column | Ctrl+Shift+B | 1D deformations | Shift+D |
| Haunch | Shift+H | Steel | |
| Plate | Ctrl+T | Steel settings | Ctrl+Alt+S |
| Wall | Ctrl+H | Steel LTB Restraints | Alt+L |
| Panel with load to 1D & edges | Shift+L | Steel ULS check | U |
| Hinges at both ends of beam | Alt+H | Steel SLS check | S |
| Hinge on beam | Ctrl+Shift+H | Scaffolding coupler check | C |
| Hinge type | Shift+C | Steel connections | |
| Hinged support | Shift+N | Steel connection settings | Ctrl+Shift+C |
| Support in node | Alt+N | Frame strong-axis | Ctrl+F |
| Crosslink | Ctrl+Shift+L | Report | |
| Loading | Report | Alt+R | |
| 3D wind generator | Shift+W | Live image in scale to report | Ctrl+I |
| Surface load on 2D | Shift+S | Picture gallery | Alt+P |
Download SCIA Engineer 24 Hotkeys in PDF
Let’s now dive in to each template specifically.
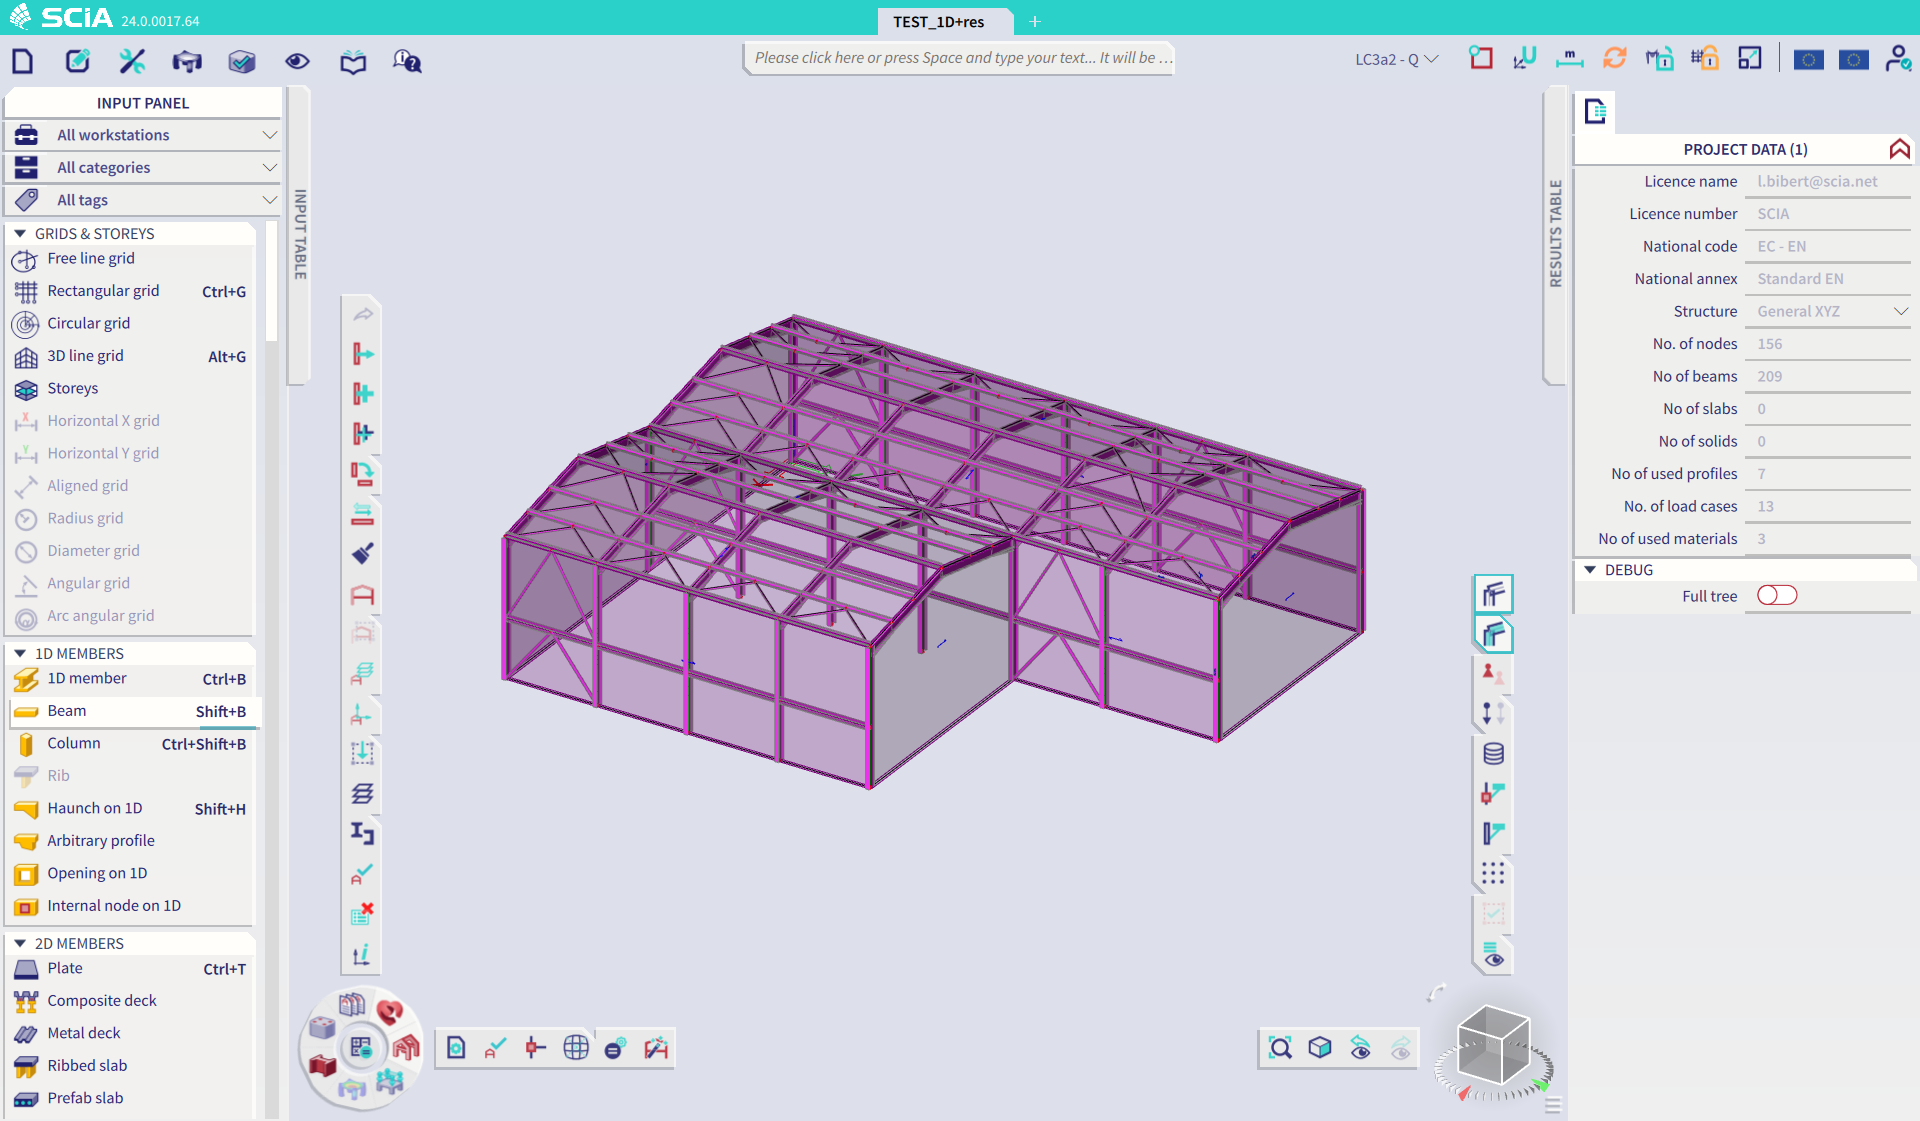
Only the new UI is offered in version 24 and you might still be used to the old UI. Don’t worry, we’ve got you covered. This template is the best of both worlds.
UI Component placement, settings and filters
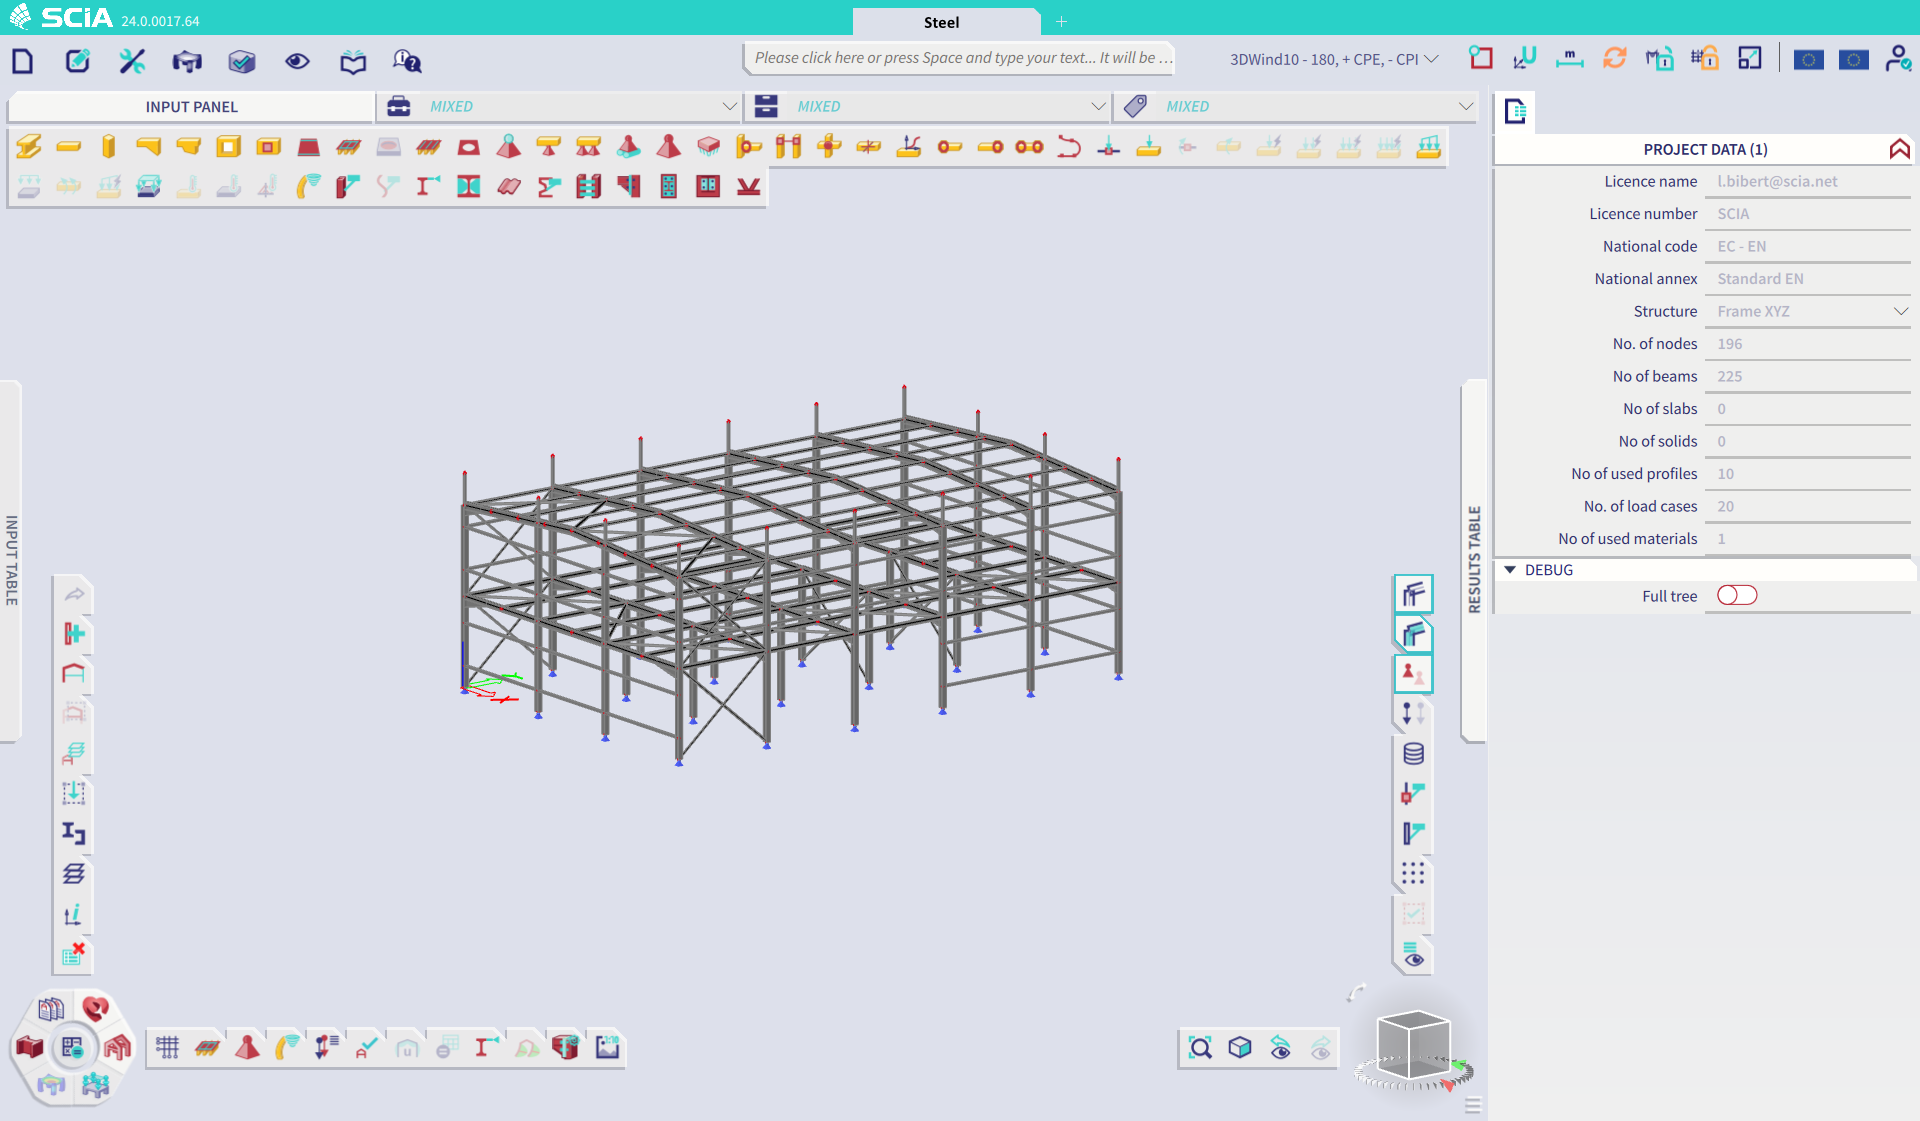
The Input panel is docked on the left side and the settings and filters have been chosen in such a way that this component resembles the service tree from the old UI. All input commands are visible under category headers, with icon, description and optional hotkey. There are no filters set, so that you can scroll down the list to find commands you might be looking for.
The input and results table are minimized and attached to the top of the 3D scene. This way, you keep the model size as large as possible, while keeping the tables at hand, opened with one click.
The properties panel is docked to the right as you are used to. From the action buttons in the results menu’s and of course also from the spotlight, you can open the report preview. It’s not docked by default because of automatic loading of the content, which might not be desired in all cases.
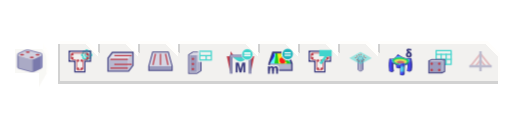
Population of the toolbars
The toolbars are already populated by the most used or most relevant commands. Some additions have been done, like undo and redo in the structure workstation. Pay close attention to ‘My workstation’, which contains frequently used commands that were previously found in the Service tree of the old UI, like project settings, check structure data, generate mesh etc.
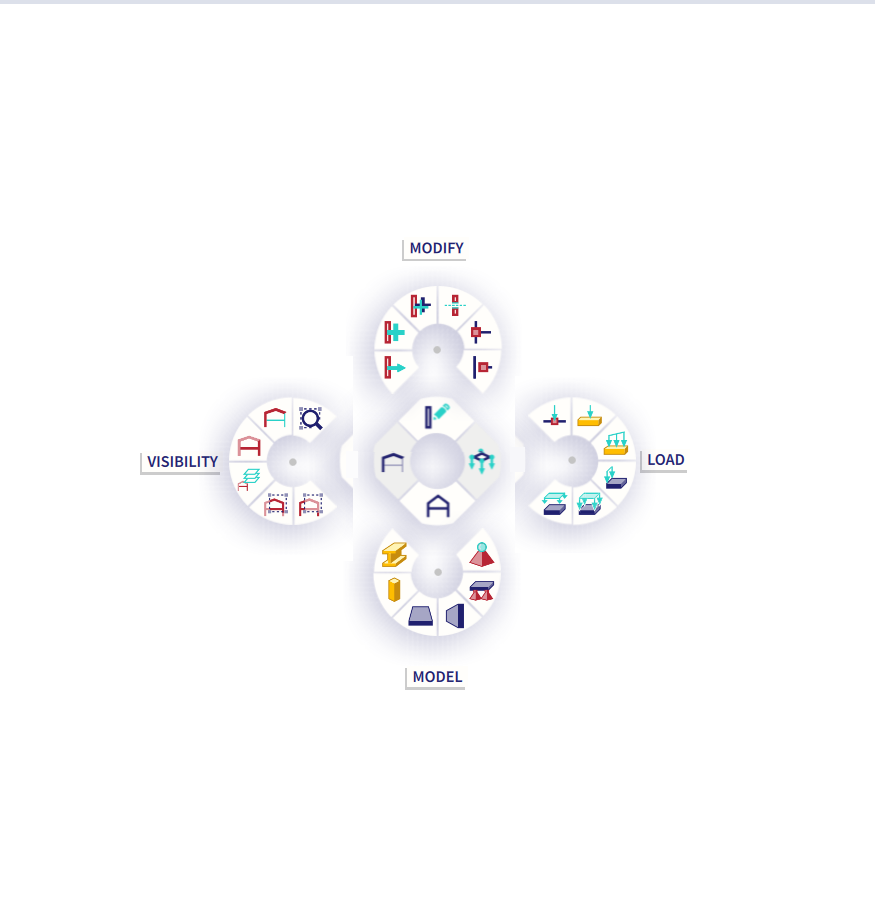
Population of the marking menu
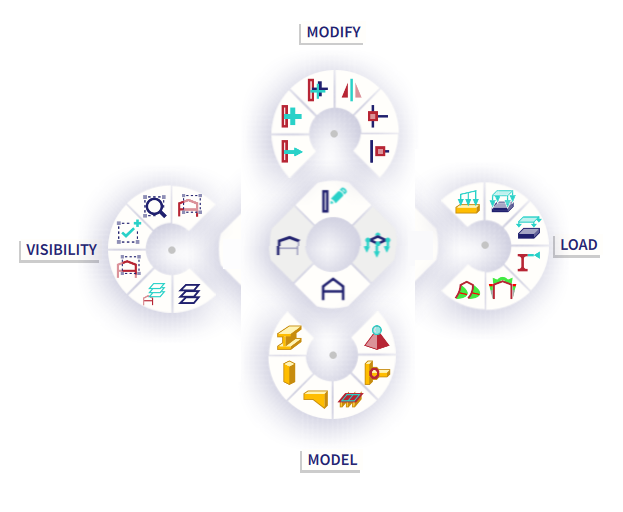
The marking menu is a completely new UI component since version 21.1 which allows you to activate commands on muscle memory. It is available on alt+right mouse click. This template contains the default population for the marking menu. Try it when you feel up for it.
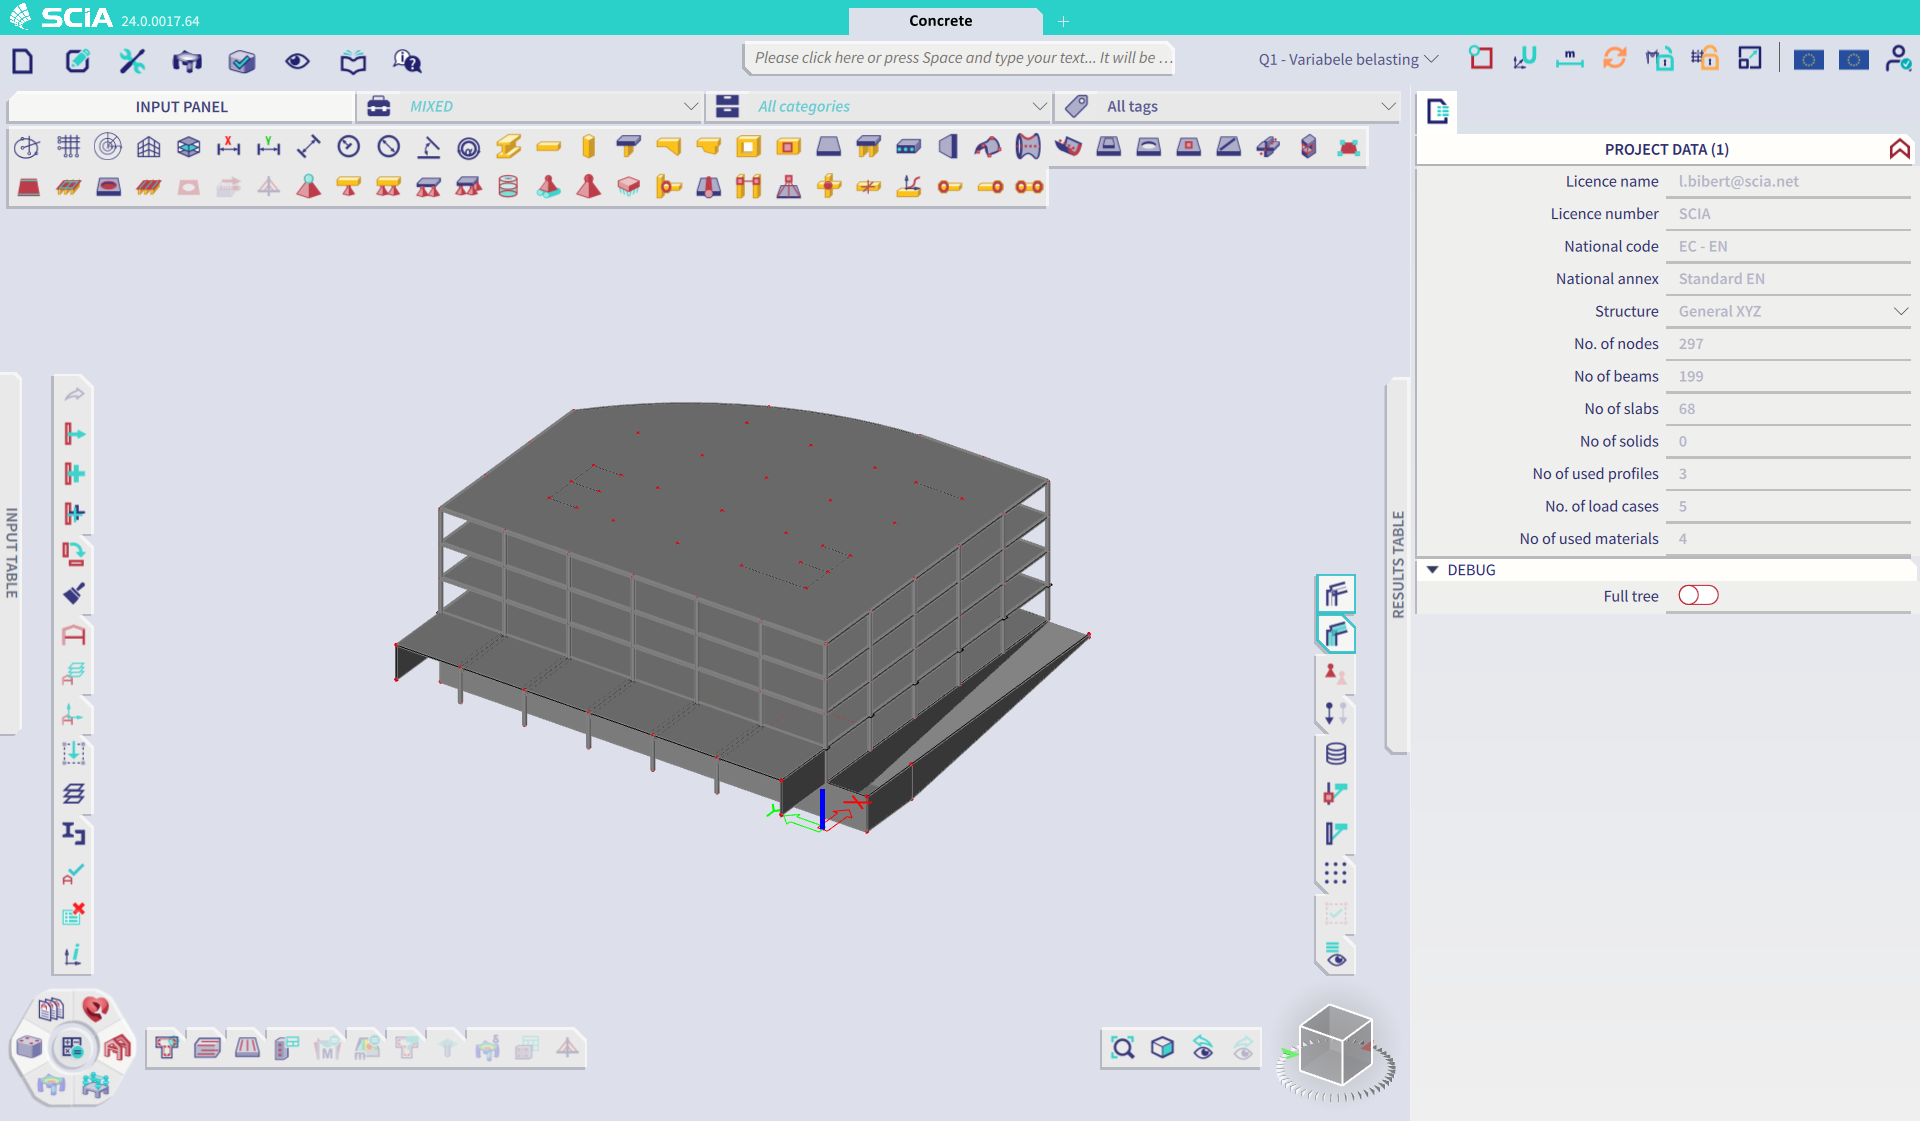
This configuration utilizes the potential of the UI and is optimized for concrete workflows.
UI Component placement, settings and filters
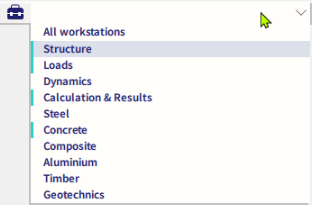
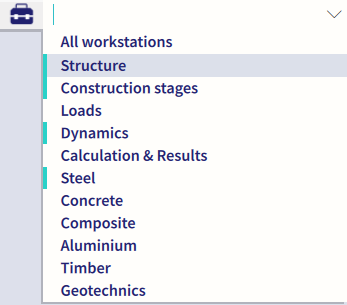
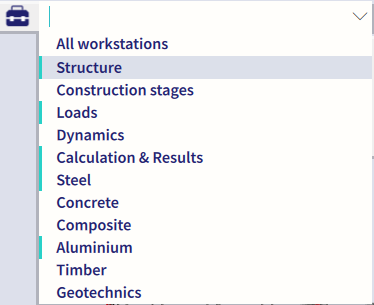
The Input panel is attached to the top and the settings and filters have been carefully chosen so that the relevant commands are shown in icon mode, for concrete projects. Did you know it’s possible to set filters for multiple workstations, categories and tags by holding ctrl? That’s exactly how this was achieved.
The input and results table are minimized and attached to the sides of the 3D scene. This way, you keep the model size as large as possible, while keeping the tables at hand, opened with one click.
The properties panel is docked to the right as you are used to. From the action buttons in the results menu’s and of course also from the spotlight, you can open the report preview. It’s not docked by default because of automatic loading of the content, which might not be desired in all cases.
Population of the toolbars
A few general additions have been made, like undo and redo in the structure workstation. Material workstations other than concrete have been disabled.
But what’s most important is that my workstation and the concrete workstation have been populated with every command you might use. The concrete workstation contains all commands for reinforcement design for 1D and 2D members together with the concrete checks. And if the functionality is activated, there are also advanced commands for concrete design, such as pre-tensioned and post-tensioned tendons and fibre concrete.
In My workstation, you can access basic modeling commands for your workflow, like quickly opening project settings, importing floor plans from DWG/DXF, or inputting a line grid. You can also add 1D and 2D members with their boundary conditions.

Population of the marking menu
The commands in the marking menu are as shown in the picture.
This configuration utilizes the potential of the UI and is optimized for steel workflows.
UI Component placement, settings and filters
The Input panel is attached to the top and the settings and filters have been carefully chosen so that the relevant commands are shown in icon mode, for steel projects. Did you know it’s possible to set filters for multiple workstations, categories and tags by holding ctrl? That’s exactly how this was achieved.
The input and results table are minimized and attached to the sides of the 3D scene. This way, you keep the model size as large as possible, while keeping the tables at hand, opened with one click.
The properties panel is docked to the right as you are used to. From the action buttons in the results menu’s and of course also from the spotlight, you can open the report preview. It’s not docked by default because of automatic loading of the content, which might not be desired in all cases.
Population of the toolbars
A few general additions have been made, like undo and redo in the structure workstation. Material workstations other than steel have been disabled.
My workstation has been populated with a lot of commands you might use in a steel workflow, from modelling a grid, to using the 3D wind load generator, to adding model data etc.

Population of the marking menu
The commands in the marking menu are as shown in the picture.
This configuration utilizes the potential of the UI and is optimized for scaffolding workflows.
UI Component placement, settings and filters
The Input panel is attached to the top and the settings and filters have been carefully chosen so that the relevant commands are shown in icon mode, for steel projects. Did you know it’s possible to set filters for multiple workstations, categories and tags by holding ctrl? That’s exactly how this was achieved.
The input and results table are minimized and attached to the sides of the 3D scene. This way, you keep the model size as large as possible, while keeping the tables at hand, opened with one click.
The properties panel is docked to the right as you are used to. From the action buttons in the results menu’s and of course also from the spotlight, you can open the report preview. It’s not docked by default because of automatic loading of the content, which might not be desired in all cases.
Population of the toolbars
The most important toolbars in the process toolbar are Structure and My workstation. Via My workstation you can find the full workflow for a scaffold project: from project settings over modelling and loading to calculating nonlinear and nonlinear stability, results, checks and reporting. For each relevant command a hotkey is assigned.


Population of the marking menu
The commands in the marking menu are as shown in the picture.


Want to try SCIA Engineer yourself?
Explore how our software and services can help you optimise your work and boost your productivity. Try it for yourself with a free 30-day software trial.
Download a free 30-days full trial