Use of indented tables
This tutorial explains how to generate automatically a series of tables through the indent option in the Engineering report.
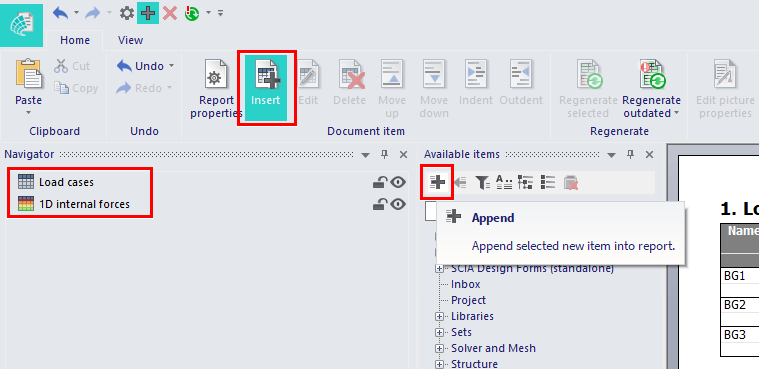
The engineering report allows for automatic generation of series of tables through the indent option. This allows for example to generate a table with internal forces for all the load cases in the project. To do this, add the items ‘Load cases’ and ‘Internal forces’ to your engineering report from the list of available items:
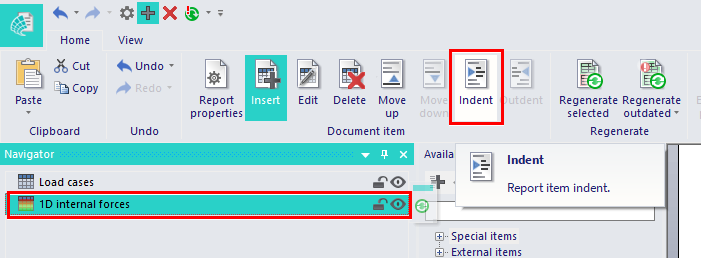
Next you can indent the ‘internal forces’ item under the ‘load cases’ by selecting it and pressing on the indent button in the top ribbon:
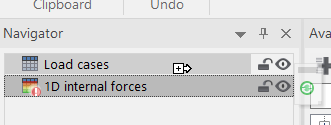
Another option is to click and drag the ‘internal forces’ item unto the ‘load case’ item and move the mouse to the right until a sideways arrow is shown, then release the mouse button:
This can be done for many different combinations of items, for example generating lists of members for every type of cross-section, showing the reactions for each support, displaying a bill of material per layer,...
You can also indent multiple items under the same element.
Of course, this will only work for combinations of items that make sense. Indenting supports under cross-sections will not yield any results.
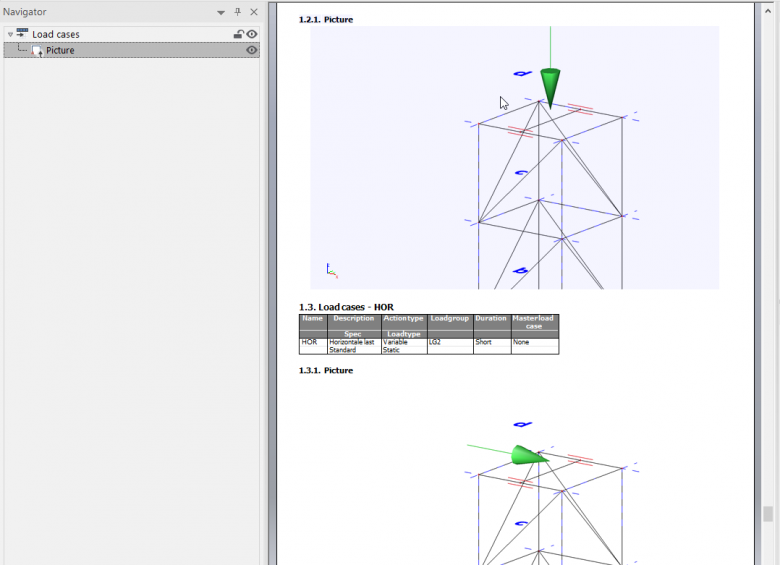
Finally, it is also possible to indent live pictures, for example to generate a picture for every load case: